Kotlin Multiplatform quickstart
With this tutorial, you can get a simple Kotlin Multiplatform app up and running.
Set up the environment
Kotlin Multiplatform (KMP) projects need a specific environment, but most of the requirements are made clear through preflight checks in the IDE.
Start with an IDE and necessary plugins:
Choose and install the IDE. Kotlin Multiplatform is supported in IntelliJ IDEA and Android Studio, so you can use the IDE you prefer.
The JetBrains Toolbox App is the recommended tool to install IDEs. It allows you to manage multiple products or versions, including Early Access Program (EAP) and Nightly releases.
For standalone installations, download the installer for IntelliJ IDEA or Android Studio.
The plugins necessary for Kotlin Multiplatform require IntelliJ IDEA 2025.1.1.1 or Android Studio Narwhal 2025.1.1 RC 1.
Install the Kotlin Multiplatform IDE plugin (not to be confused with the Kotlin Multiplatform Gradle plugin).
Installing the Kotlin Multiplatform IDE plugin for IntelliJ IDEA also installs all necessary dependencies if you don't have them yet (Android Studio has all necessary plugins bundled).
If you're using IntelliJ IDEA for Windows or Linux, make sure to install all necessary plugins manually:
Compose Multiplatform for Desktop IDE Support (only needed if you don't have the Kotlin Multiplatform plugin).
If you don't have the
ANDROID_HOMEenvironment variable set, configure your system to recognize it:Add the following command to your
.profileor.zprofile:export ANDROID_HOME=~/Library/Android/sdkFor PowerShell, you can add a persistent environment variable with the following command (see PowerShell docs for details):
[Environment]::SetEnvironmentVariable('ANDROID_HOME', '<path to the SDK>', 'Machine')For CMD, use the
setxcommand:setx ANDROID_HOME "<path to the SDK>"To create iOS applications, you need a macOS host with Xcode installed. Your IDE will run Xcode under the hood to build iOS frameworks.
Make sure to launch Xcode at least once before starting to work with KMP projects so that it goes through the initial setup.
Create a project
On macOS
On macOS, the Kotlin Multiplatform plugin provides a project generation wizard inside the IDE:
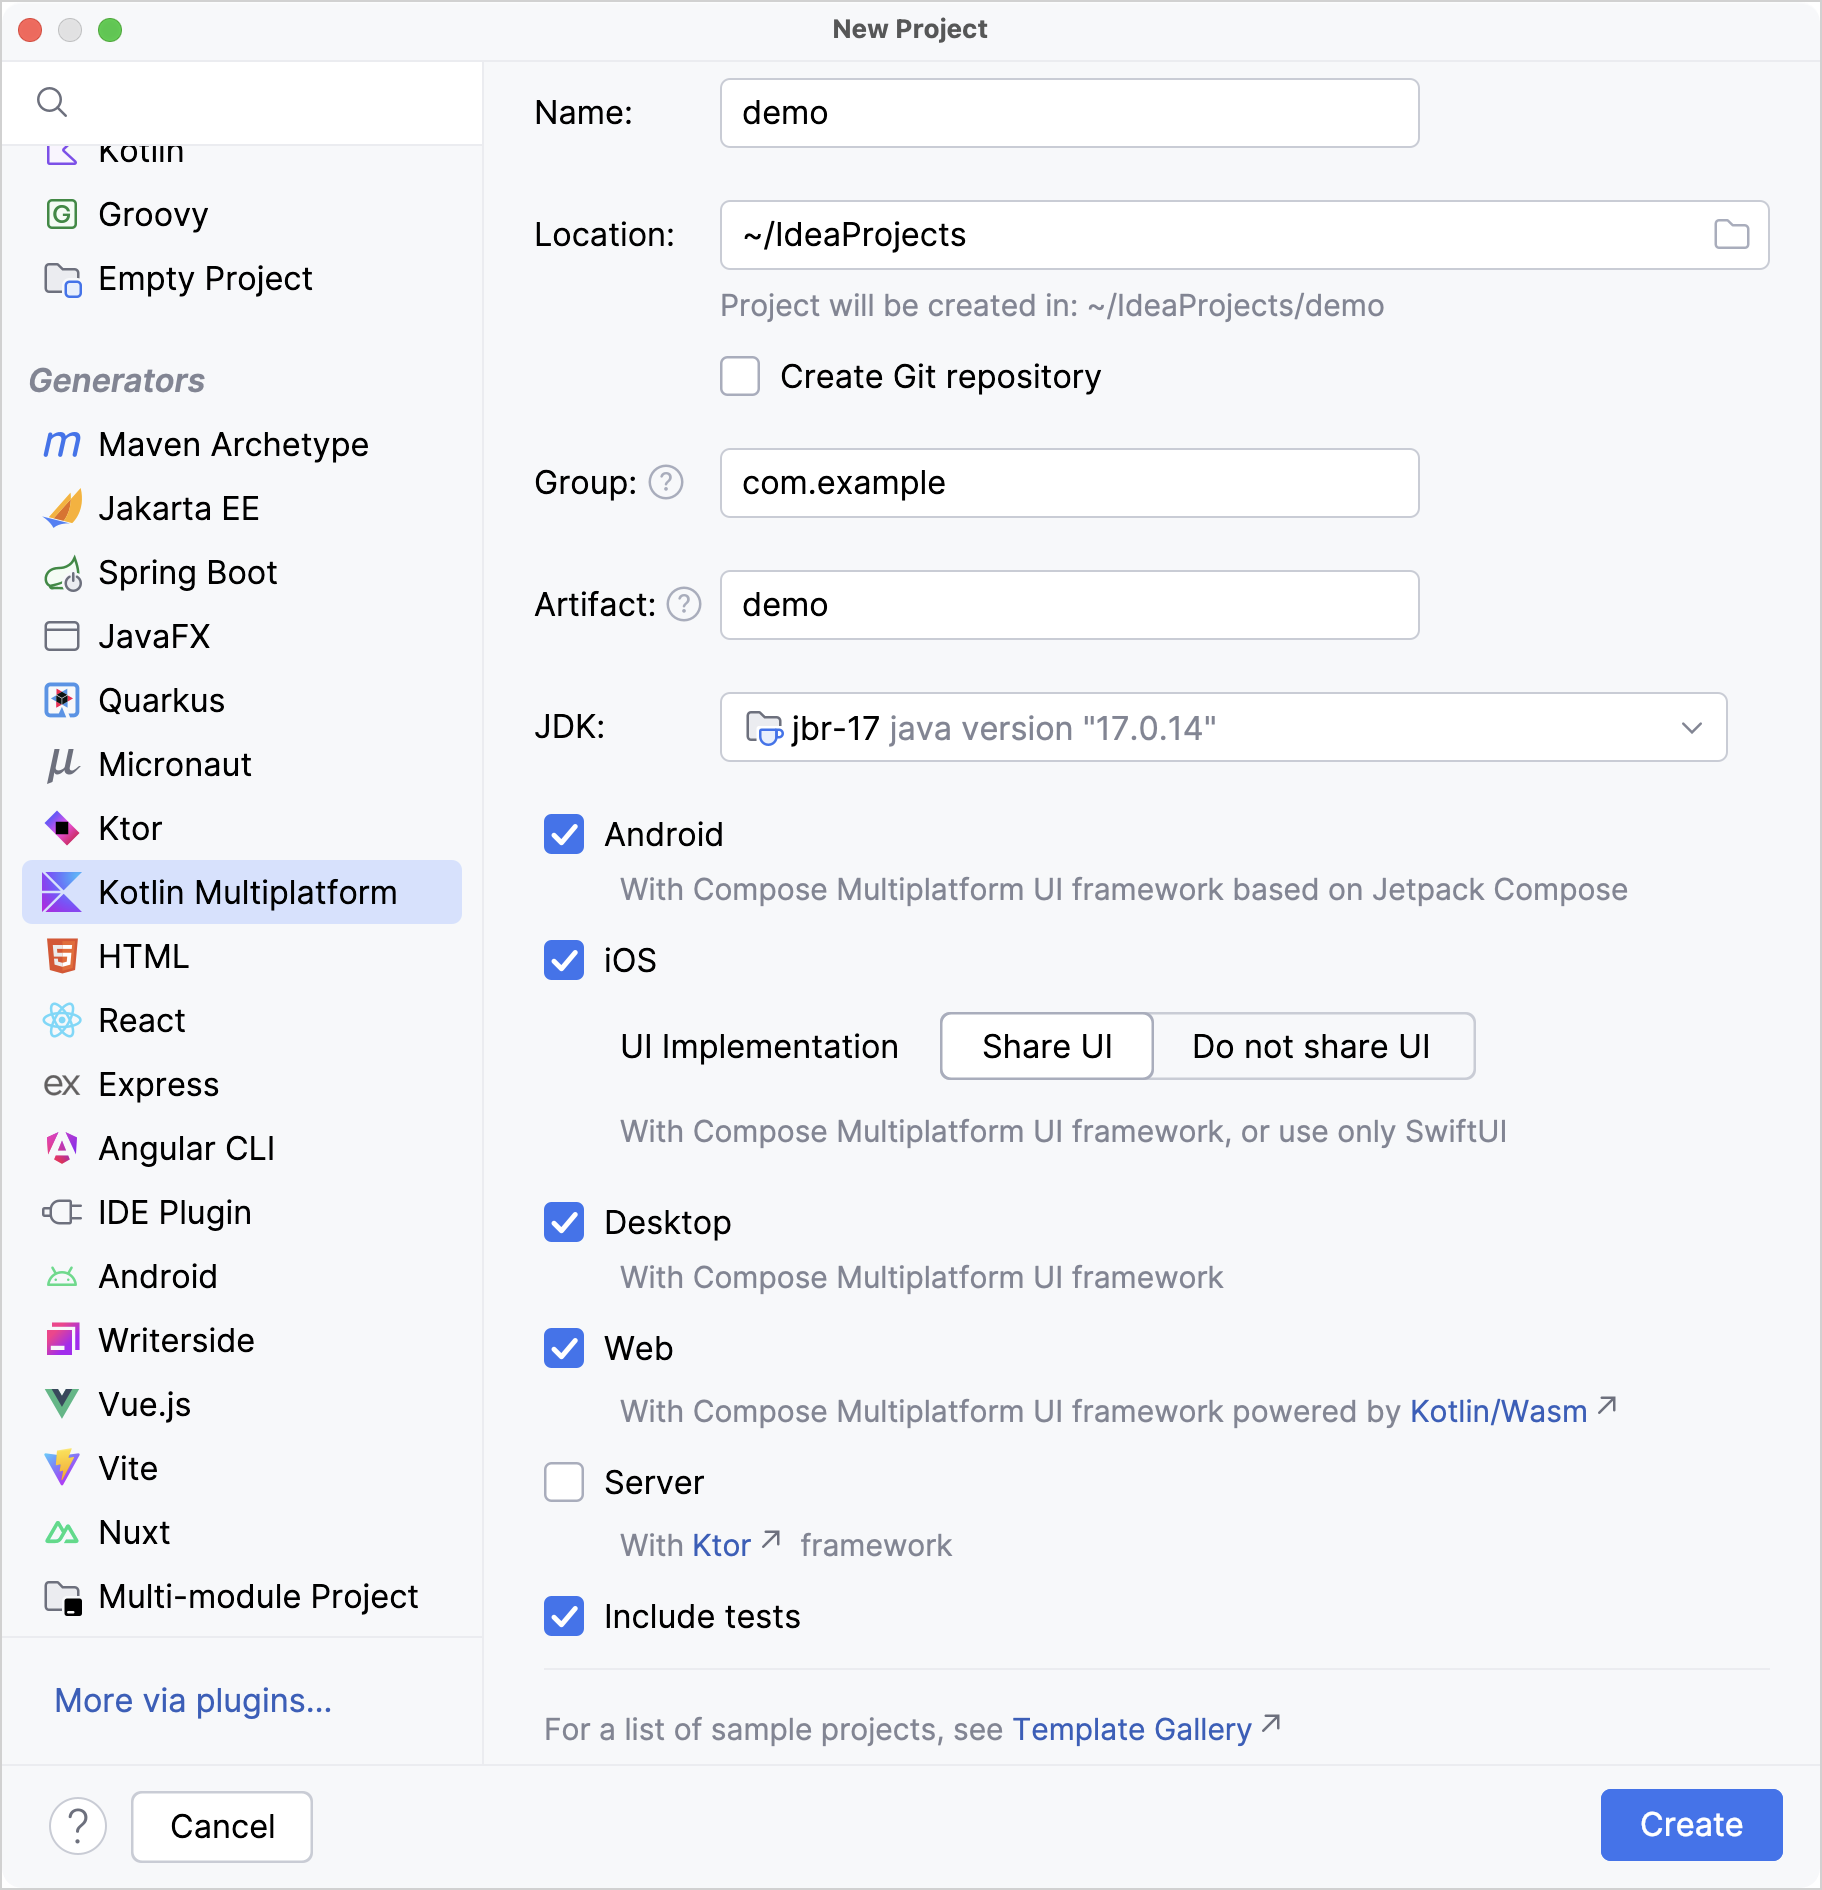
Use the IDE wizard to create a new KMP project:
Select File | New | Project in the main menu.
Choose Kotlin Multiplatform in the list on the left.
Set the name, location, and other base attributes of the project as needed.
Choose platforms that you would like to see as part of the project:
All target platforms can be set up for using Compose Multiplatform to share UI code from the start (except for the server module that doesn't have UI code).
For iOS, you can choose one of two implementations:
shared UI code, with Compose Multiplatform,
fully native UI, made with SwiftUI and connected to the Kotlin module with shared logic.
The desktop target includes an Alpha version of Compose Hot Reload functionality that allows you to see UI changes as soon as you alter corresponding code. Even if you're not planning on making desktop apps, you may want to use the desktop version to speed up writing UI code.
When you're done choosing platforms, click the Create button and wait for the IDE to generate and import the project.
The Kotlin Multiplatform IDE plugin relies heavily on K2 functionality and is not going to work as described without it. So, before you start, make sure K2 mode is enabled: Settings | Languages & Frameworks | Kotlin | Enable K2 mode.
Use the IDE wizard to create a new KMP project:
Select File | New | New project in the main menu.
Choose Kotlin Multiplatform in the default Phone and Tablet template category.

Set the name, location, and other base attributes of the project as needed, then click Next.
Choose platforms that you would like to see as part of the project:
All target platforms can be set up for using Compose Multiplatform to share UI code from the start (except for the server module that doesn't have UI code).
For iOS, you can choose one of two implementations:
shared UI code, with Compose Multiplatform,
fully native UI, made with SwiftUI and connected to the Kotlin module with shared logic.
The desktop target includes an alpha version of hot reload functionality that allows you to see UI changes as soon as you alter corresponding code. Even if you're not planning on making desktop apps, you may want to use the desktop version to speed up writing UI code.
When you're done choosing platforms, click the Finish button and wait for the IDE to generate and import the project.

On Windows or Linux
If you're on Windows or Linux:
Generate a project using the web KMP wizard.
Extract the archive and open the resulting folder in your IDE.
Wait for the import to finish, then go to the Run the sample apps section to learn how to build and run the apps.
Since the Kotlin Multiplatform IDE plugin does not support Windows or Linux yet
Consult the preflight checks
You can make sure there are no environment issues with the project setup by opening the Project Environment Preflight Checks tool window: click the preflight checks icon on the right sidebar or the bottom bar ![]()
In this tool window, you can see the messages related to these checks, rerun them, or change their settings.
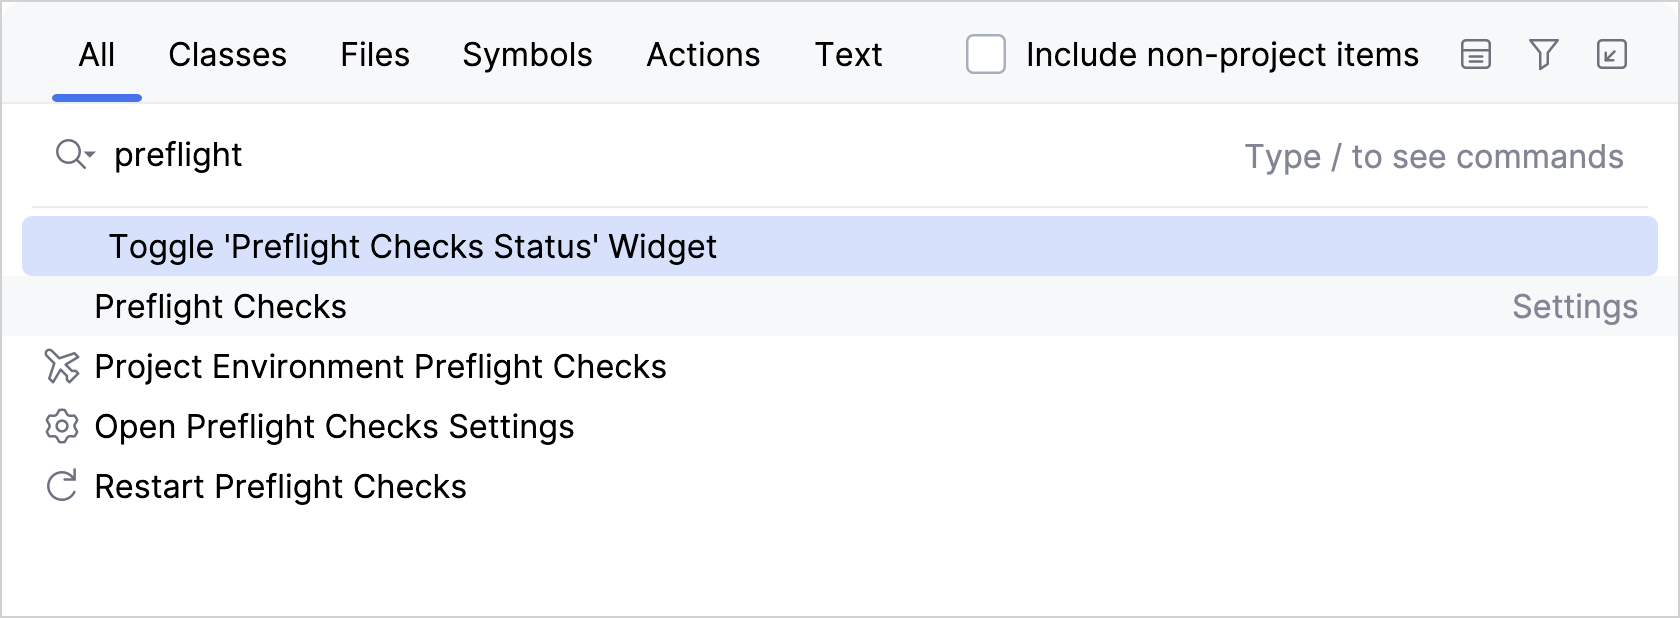
Preflight checks commands are also available in the Search Everywhere dialog. Press double Shift and search for commands containing the word "preflight":
Run the sample apps
The project created by the IDE wizard includes generated run configurations for iOS, Android, desktop, and web applications, as well as Gradle tasks for running the server app. On Windows and Linux, see Gradle commands for each platform below.
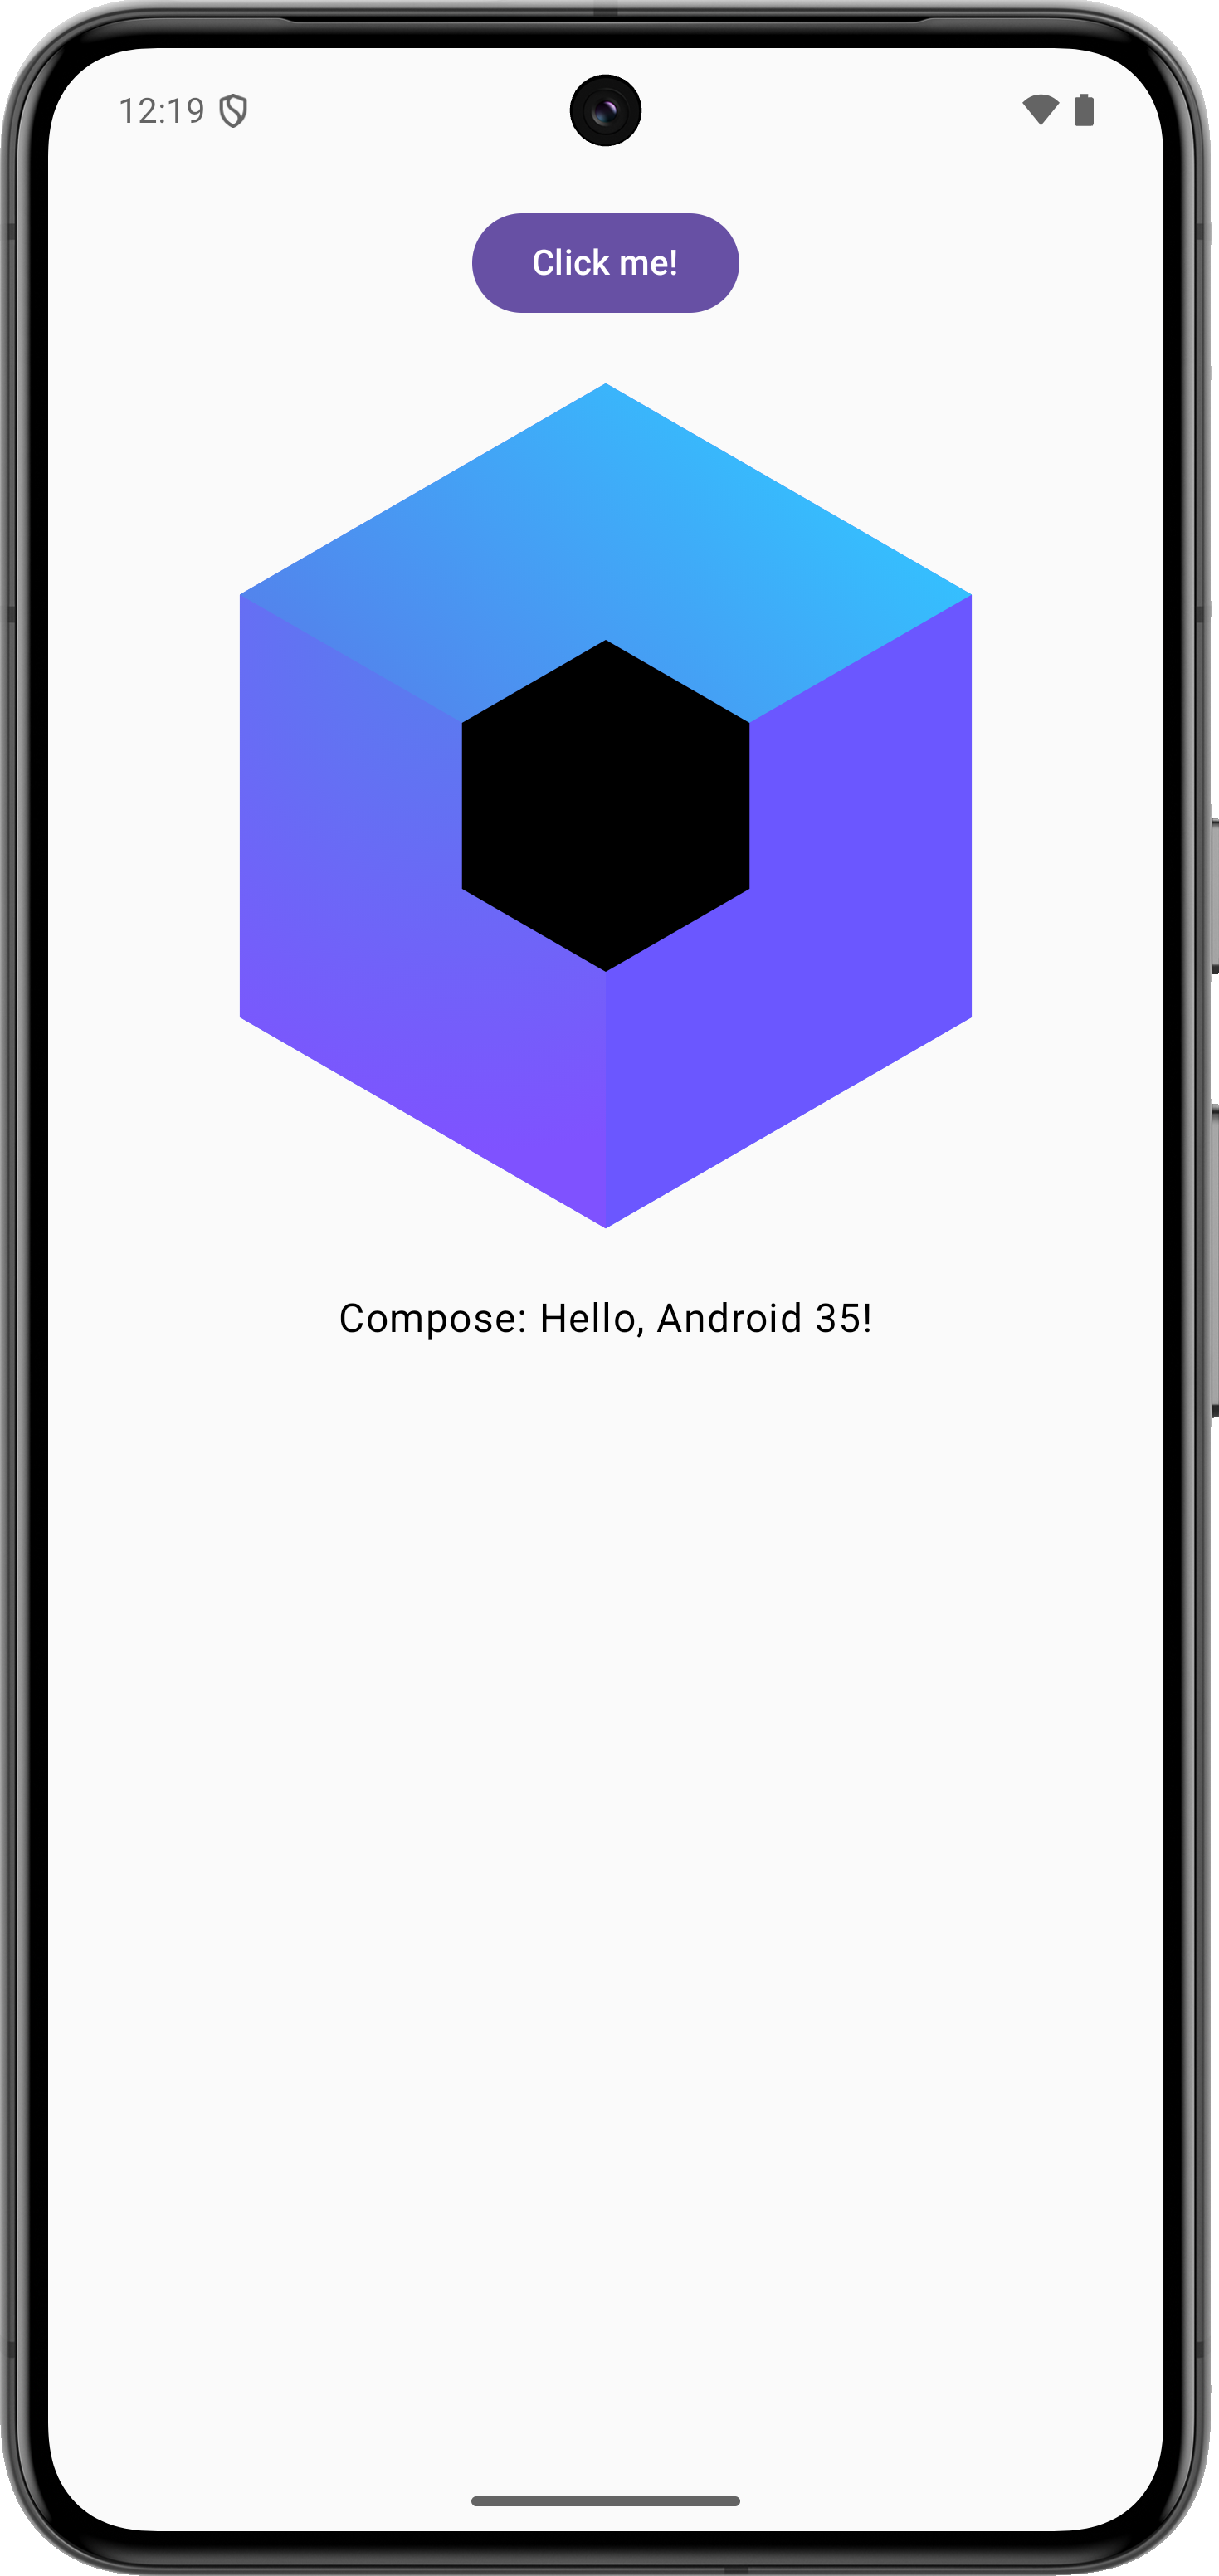
To run the Android app, start the composeApp run configuration:

To run the Android app on Windows or Linux, create an Android App run configuration and choose the module [project name].composeApp.
By default, it runs on the first available virtual device:
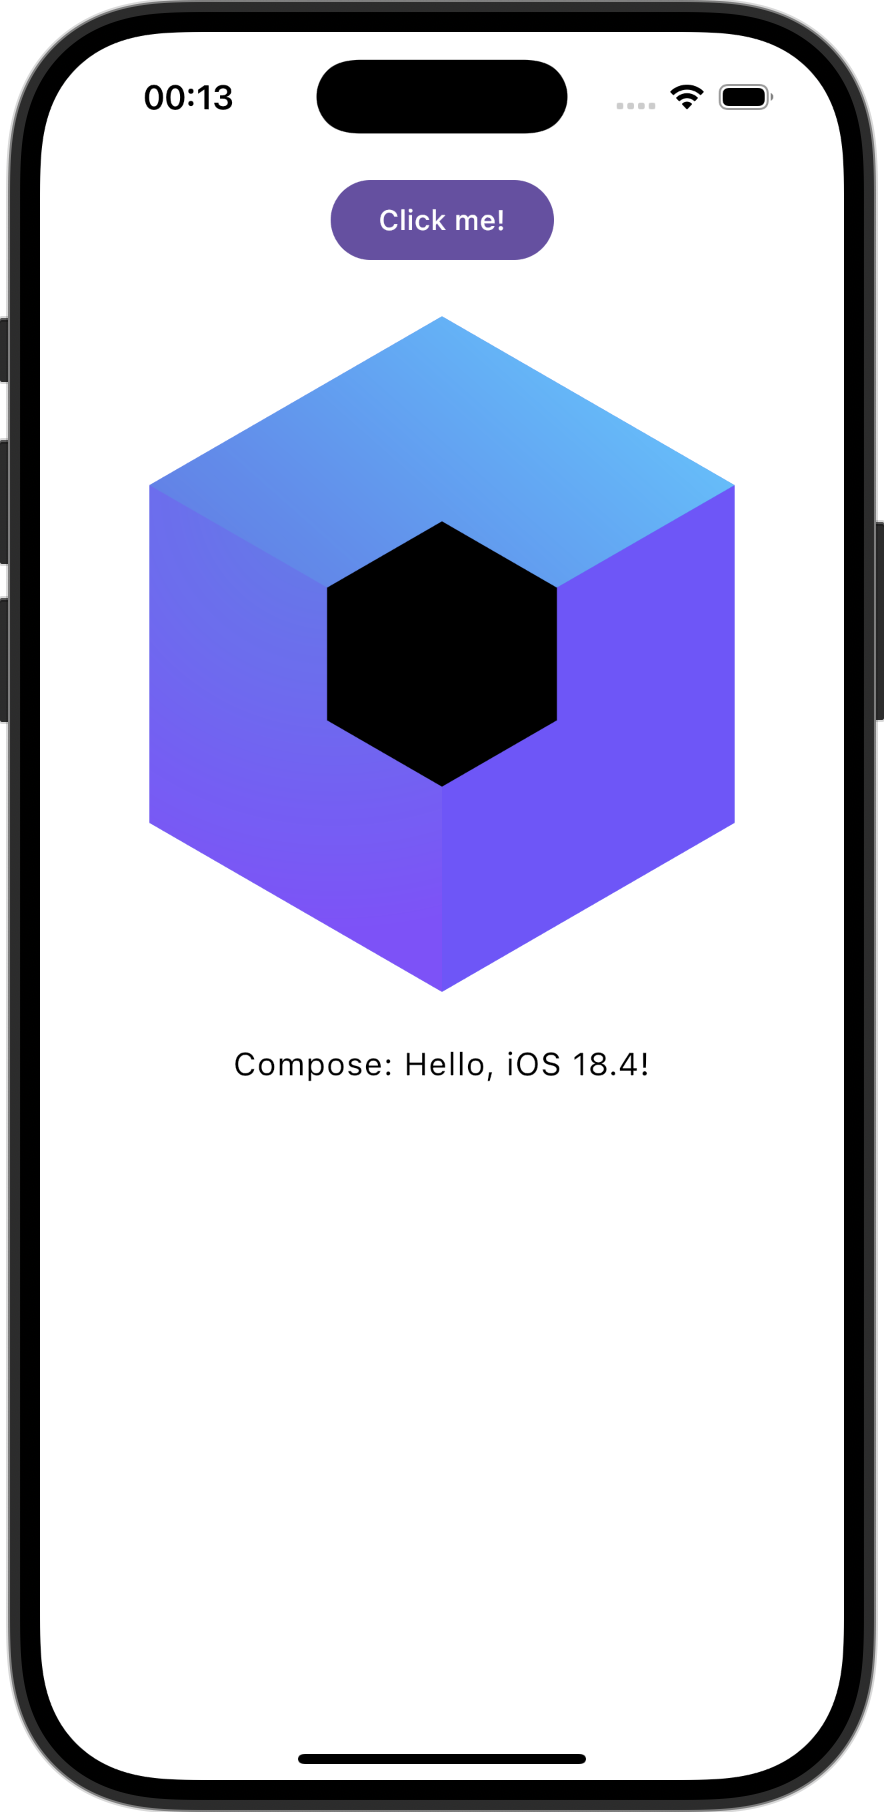
If you chose the iOS target for the project and set up a macOS machine with Xcode, you can choose the iosApp run configuration and select a simulated device:
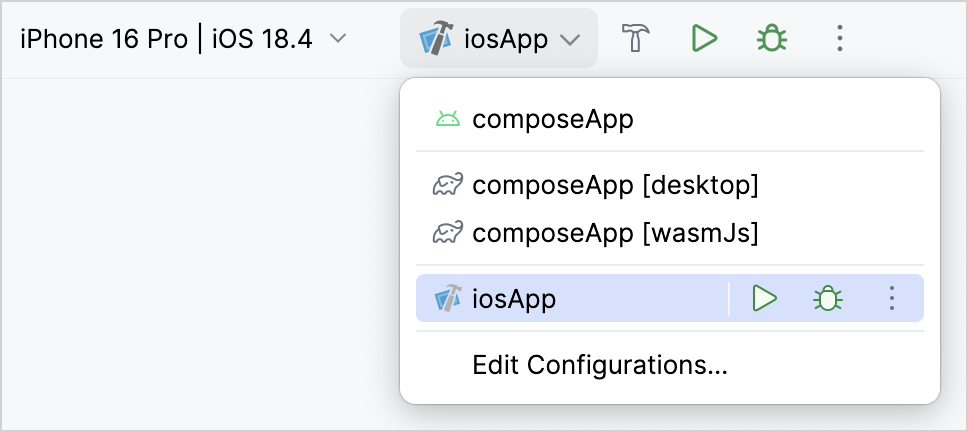
When you run the iOS app, it is built with Xcode under the hood and launched in the iOS Simulator. The very first build collects native dependencies for compilation and warms up the build for subsequent runs:
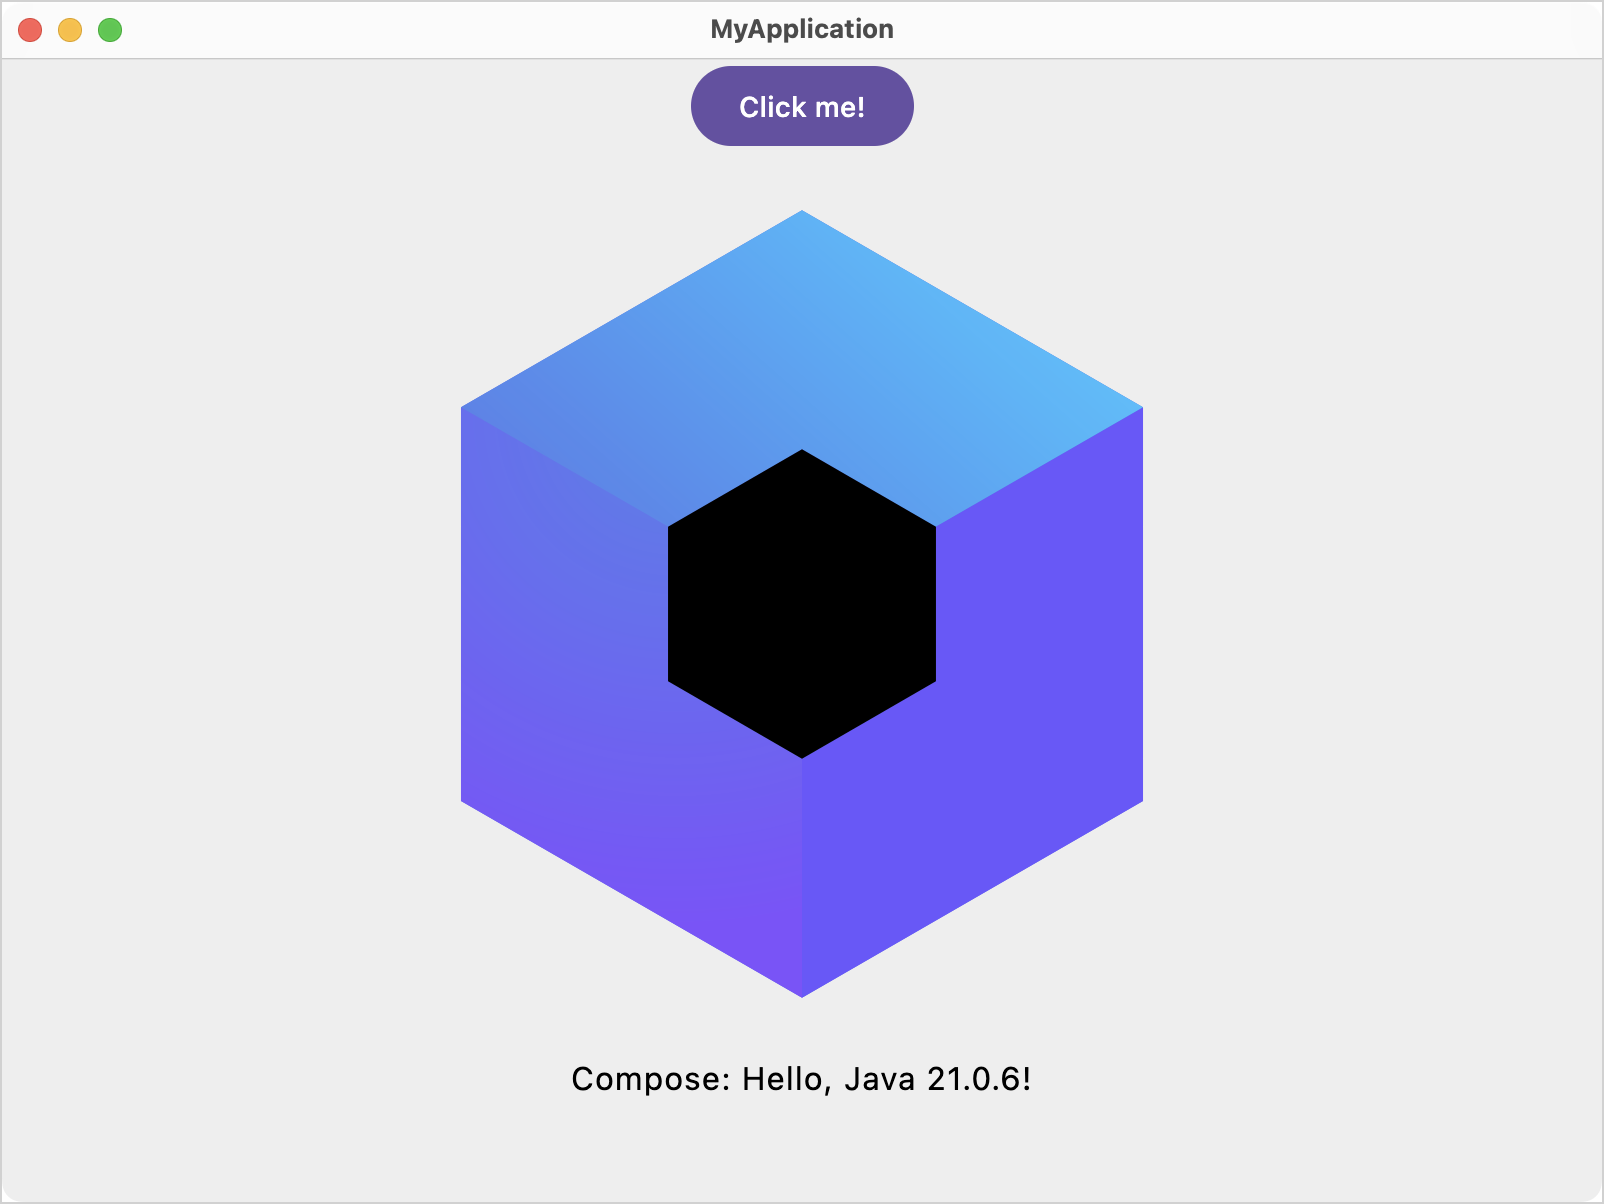
The default run configuration for a desktop app is created as composeApp [desktop]:

To run the desktop app on Windows or Linux, create a Gradle run configuration pointing to the [app name]:composeApp Gradle project with the following command:
With this configuration you can run the JVM desktop app:
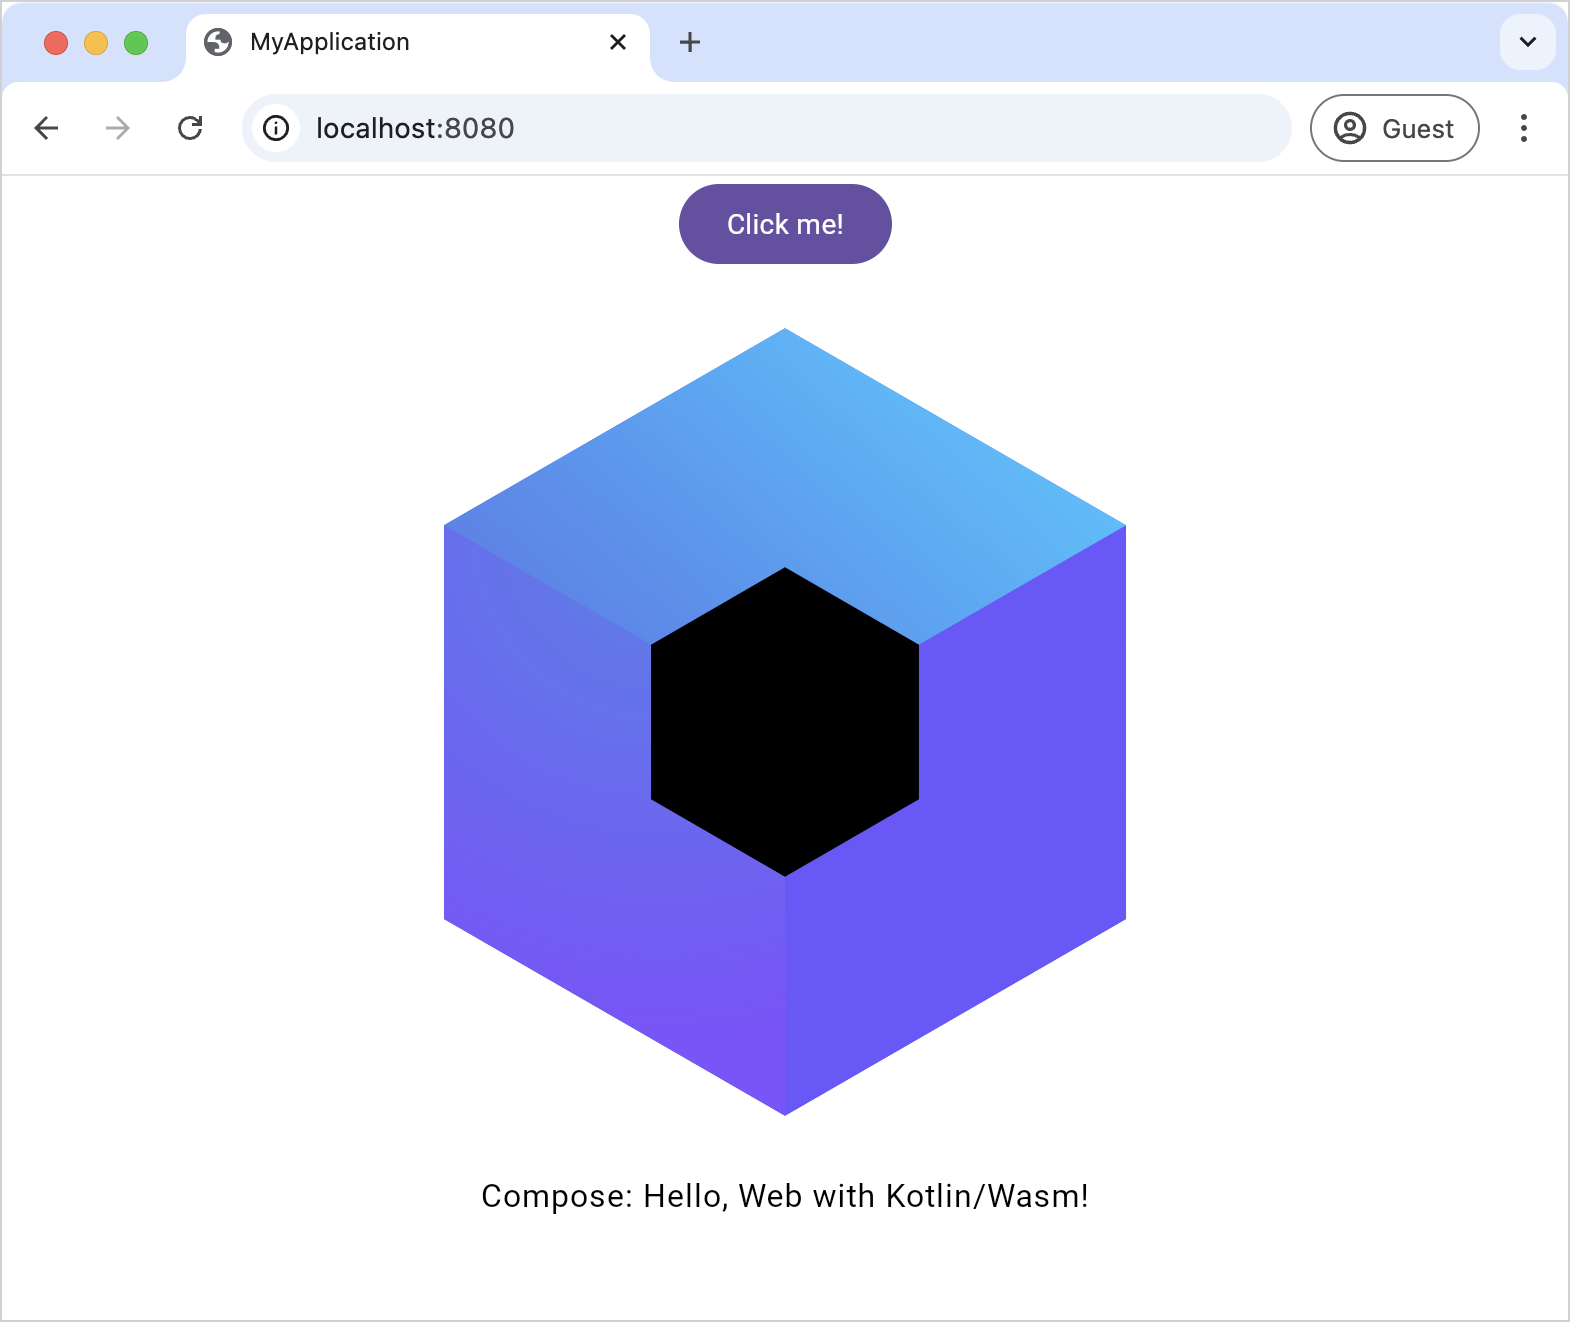
The default run configuration for a web app is created as composeApp [wasmJs]:

To run the web app on Windows or Linux, create a Gradle run configuration pointing to the [app name]:composeApp Gradle project with the following command:
When you run this configuration, the IDE builds the Kotlin/Wasm app and opens it in the default browser:
Troubleshooting
Java and JDK
Common issues with Java:
Some tools may not find a Java version to run, or use a wrong version. To solve this:
Set the
JAVA_HOMEenvironment variable to the directory where the appropriate JDK is installed.Append the path to the
binfolder inside yourJAVA_HOMEto thePATHvariable, so that the tools included in JDK are available in the terminal.
If you encounter issues with Gradle JDK in Android Studio, make sure it's configured correctly: select Settings | Build, Execution, Deployment | Build Tools | Gradle.
Android tools
Same as for JDK: if you have trouble launching Android tools like adb, make sure paths to ANDROID_HOME/tools, ANDROID_HOME/tools/bin, and ANDROID_HOME/platform-tools are added to your PATH environment variable.
Xcode
If your iOS run configuration reports that there is no virtual device to run on, make sure to launch Xcode and see if there are any updates for the iOS simulator.
Get help
Kotlin Slack. Get an invite and join the #multiplatform channel.
Kotlin Multiplatform Tooling issue tracker. Report a new issue.
What's next
Learn more about the structure of a KMP project and writing shared code:
A series of tutorials about working with the shared UI code: Create your Compose Multiplatform app
A series of tutorials about working with shared code along with a native UI: Create your Kotlin Multiplatform app
Take a deep dive into the Kotlin Multiplatform documentation:
Learn about the Compose Multiplatform UI framework, its fundamentals, and platform-specific features: Compose Multiplatform and Jetpack Compose.
Discover code already written for KMP:
Our Samples page, with official JetBrains samples as well as a curated list of projects showcasing KMP capabilities.
The GitHub topics:
kotlin-multiplatform, projects implemented with Kotlin Multiplatform.
kotlin-multiplatform-sample, a list of sample projects written with KMP.
klibs.io – search platform for KMP libraries, with more than 2000 libraries indexed so far, including OkHttp, Ktor, Coil, Koin, SQLDelight, and others.